Configuration of Cyberguard custom firewall rules for
FacetPhone QoS.
Last updated 5/28/2007.
Voice packets need to be sent
with low latency and low jitter if the quality of the voice is to be
maintained. If data is allowed to make
the voice packets queue for a long period of time, anything from poor quality
to dropouts will occur.
One way to prevent data from
impacting voice is to have a voice only link. Sometimes it is less expensive to
install a extra DSL than to have QoS installed by the ISP
on a heavily used upload link.
On the packets leaving the
office, the simplest rule is that voice goes first and that data is not allowed
to queue after the point when the “next packet” decision is made. These
following rules do that on the upload link from an office or home. The voice
packets are also subject to interference from data packets in the download
direction from the ISP. QoS must be done by the system transmitting the packet,
so these rules do not affect packets from the ISP.
Here are the FacetPhone suggestions.
Be sure that the current configuration is backed up both on your PC and locally
before starting.
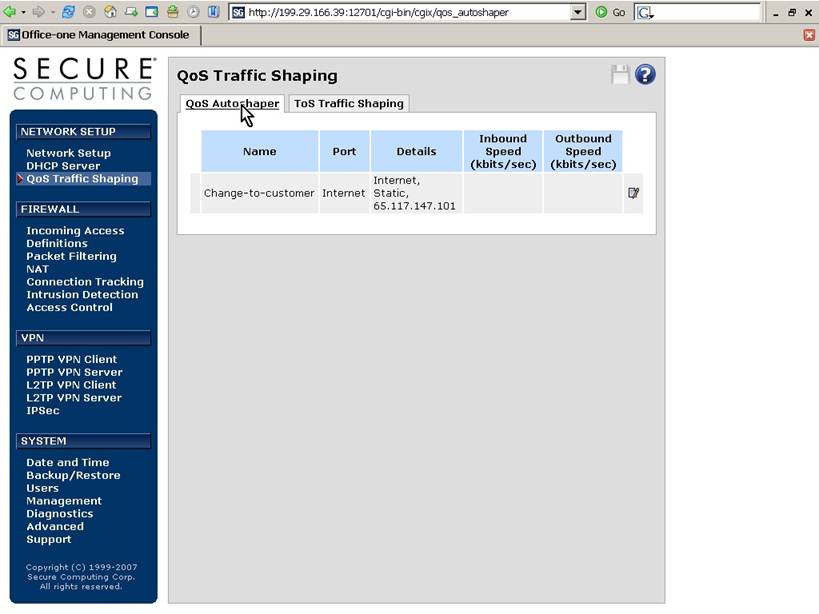
Do not use the QoS Autoshaper
– custom rules will be installed.
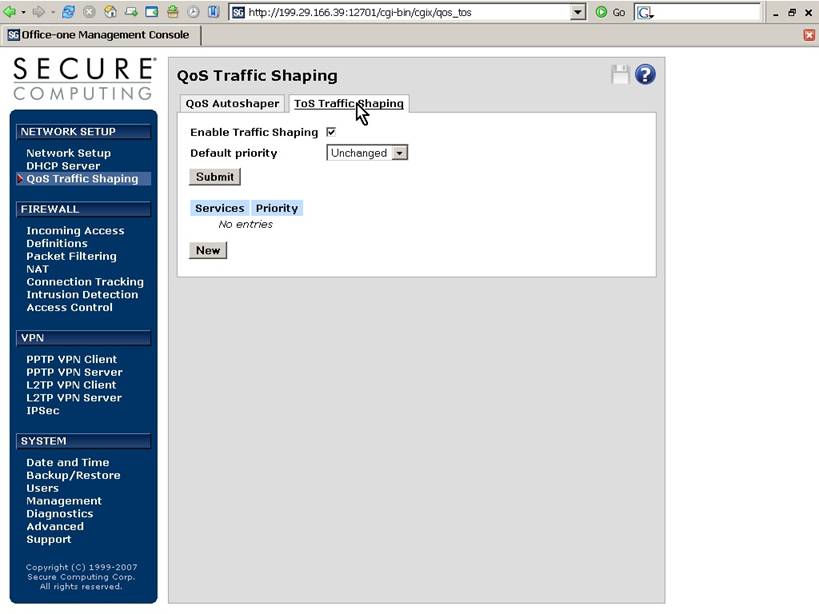
Check the “Enable Traffic
Shaping” box and press Submit.
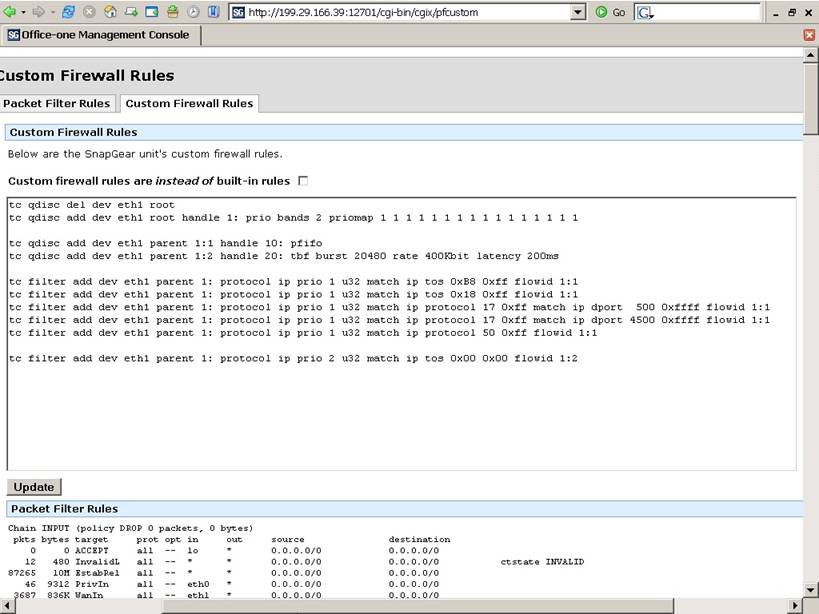
On Custom Firewall Rules
enter the following. This sets up two queues and puts the VOIP packets and the
IPSec tunnels containing them at first priority.
The rest goes into a second
queue that is rate limited to some fraction of your upload speed. This prevents
a lot of buffering in your cable modem, DSL modem, or T1 interface. These can
be several seconds long and would defeat the “voice packets first” policy by
stacking them behind previously queued-up data.
This “fraction” in the example
is 400Kbit. This needs to be lowered until there is no buffering occurring
between the Cyberguard and the link to the ISP. If necessary, lower it
drastically until it has the desired effect, and then raise it to allow a
higher data throughput as long as the voice is not impacted.

tc qdisc
tc qdisc add dev eth1 root handle 1: prio
bands 2 priomap 1 1 1 1 1 1 1 1 1 1 1 1 1 1 1 1
tc qdisc add dev eth1 parent 1:1 handle 10: pfifo
tc qdisc add dev eth1 parent 1:2 handle 20: tbf burst 20480 rate 400Kbit latency 200ms
tc filter add dev
eth1 parent 1: protocol ip prio
1 u32 match ip tos 0xB8
0xff flowid 1:1
tc filter add dev
eth1 parent 1: protocol ip prio
1 u32 match ip tos 0x18
0xff flowid 1:1
tc filter add dev
eth1 parent 1: protocol ip prio
1 u32 match ip protocol 17 0xff match ip dport 500 0xffff flowid
1:1
tc filter add dev
eth1 parent 1: protocol ip prio
1 u32 match ip protocol 17 0xff match ip dport 4500 0xffff flowid 1:1
tc filter add dev
eth1 parent 1: protocol ip prio
1 u32 match ip protocol 50 0xff flowid
1:1
tc filter add dev
eth1 parent 1: protocol ip prio
2 u32 match ip tos 0x00 0x00 flowid 1:2
In the example, eth1 is the
output interface. Change this to the correct device such as ppp0 if necessary,
for PPoE, etc.
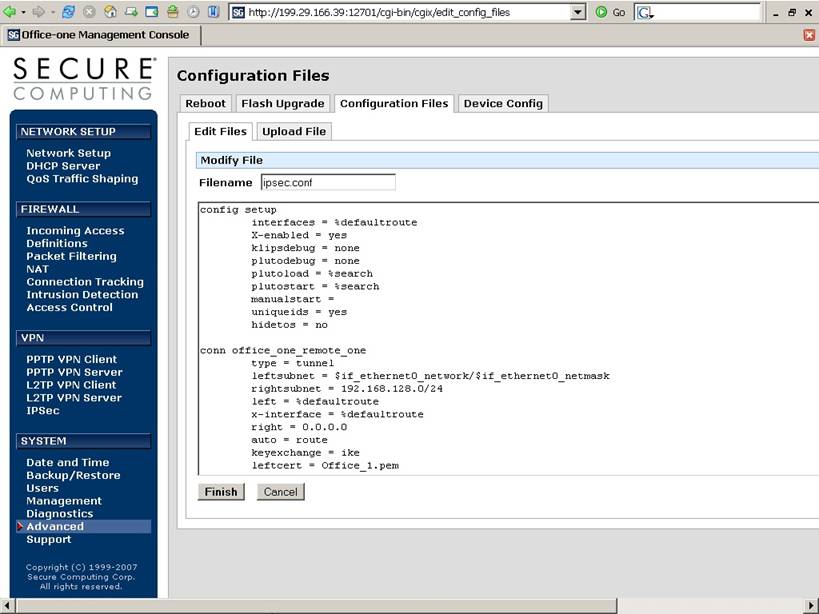
In the ipsec.conf file, under
“config setup”, add “hidetos
= no”. Line the columns up with spaces rather than a tab.